As we have told you on other occasions, one of the great benefits of artificial turf is the water savings it provides. However, your garden may have vegetable garden areas that do require a drip irrigation system.
In order to continue saving and keep your garden properly hydrated, Albergrass tells you how to install drip irrigation.
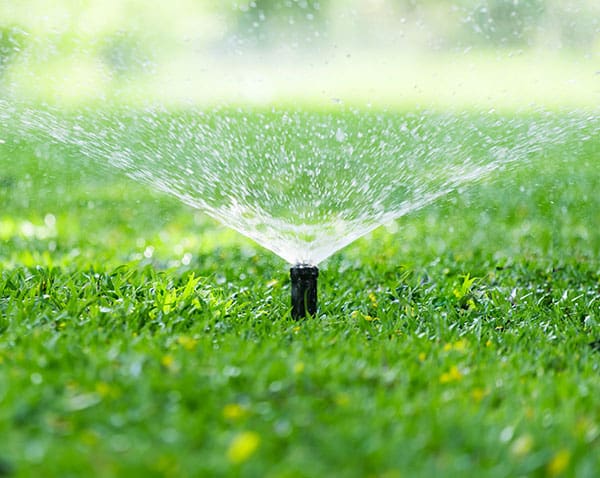
What is drip irrigation?
As its name suggests, this type of drip irrigation consists of hydrating the soil with a drop-by-drop or micro-sprinkler system.
Advantages of drip irrigation
As it is a localized irrigation, placing the drippers in the root zones, water consumption is lower. This translates into significant savings and a benefit for the environment.
Although it is necessary to make an initial investment to acquire the material and to cover the installation costs if a third party carries them out, the savings involved allow us to obtain profitability in a short period of time.
Another advantage of drip irrigation is that it can be programmed, so we do not have to be aware of the amount and time of irrigation required by our orchard.
In addition, if we install a fertigation system in the drip irrigation equipment, we avoid having to be aware of fertilizing and fertilizing the plants.
Disadvantages of drip irrigation
There are many more advantages than problems with drip irrigation. The biggest drawback is to make sure that the drippers do not become clogged and stop working.
It is easy for them to become clogged with sand, lime, fertilizers, leaves, stones… Therefore, it is advisable to check the installation from time to time and clean the drippers.
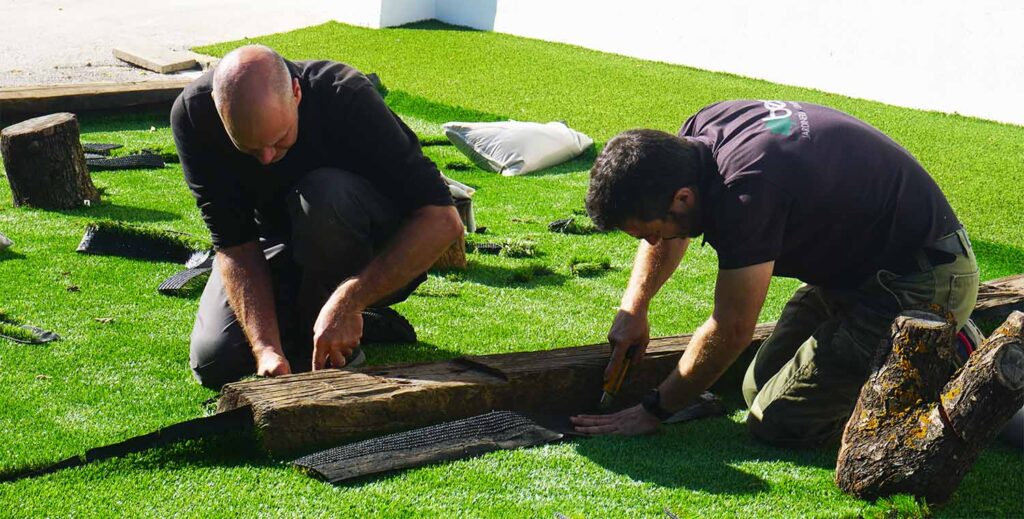
Drip irrigation installation
To install drip irrigation you can hire the services of a professional or do it yourself. If you prefer this option we tell you how to do it below.

Materials required for drip installation
To install drip irrigation you must acquire all the necessary materials and tools:
1. Water pump, suction pipe (running from the water source or tap to the pump) and delivery pipe (pump outlet).
2. Filter and fertilization system.
3. Clock to program the start and end of irrigation.
4. Network of pipes that carry the water from the pump to the different cultivation areas.
5. Drippers and dripper holders that are placed on each plant (this is where the water comes out drop by drop or in micro-sprinklers).
6. Plugs for the end of the irrigation hoses.
7. Tools: wrench, scissors, screwdriver.
Installation step by step
Once we have all the above materials, it is time to perform the installation. To do this, first we close the water stopcock of the garden.
Second, we connect the timer to the garden faucet. The other end of the timer is connected to the suction pipe to the pump inlet.
Then we connect the outlet of the pump with the main pipe or hose through the delivery pipe. Next, we distribute the pipe network through the orchard and close the end of the pipes with plugs.
Once we have all the pipes in place in the irrigation areas, we place the drippers and drippers in the places where the plants, pots and trees are located.
We give the water again and check that the system is working properly.
Once checked, we program the irrigation.
That’s how easy it is to get
a hydrated garden without wasting water.
We would love to hear your opinion about the drip irrigation system. We encourage you to write it in the comments field, thank you very much!